Ever realized the need to access data from a website but found it difficult to access it in a structured format? Well, Web Scraping is used to solve these types of issues. It is a technique of extracting data from any public website and using that data by storing it locally or showing it in the form of live data in our application. In this process, we are sending a crawler that automatically crawls all the data from the provided website. Node js provides many such libraries for web scraping such as Axios for fetching API responses, or Nightmare or Puppeteer for advanced scraping such as automation or skip captchas, etc. In this blog, we will be discussing how to use Puppeteer in data scraping from the web which is a free web scraping tool.
NOTE: Kindly make sure you’re doing web scraping on websites that allow it without disturbing any company norms or privacy measures.
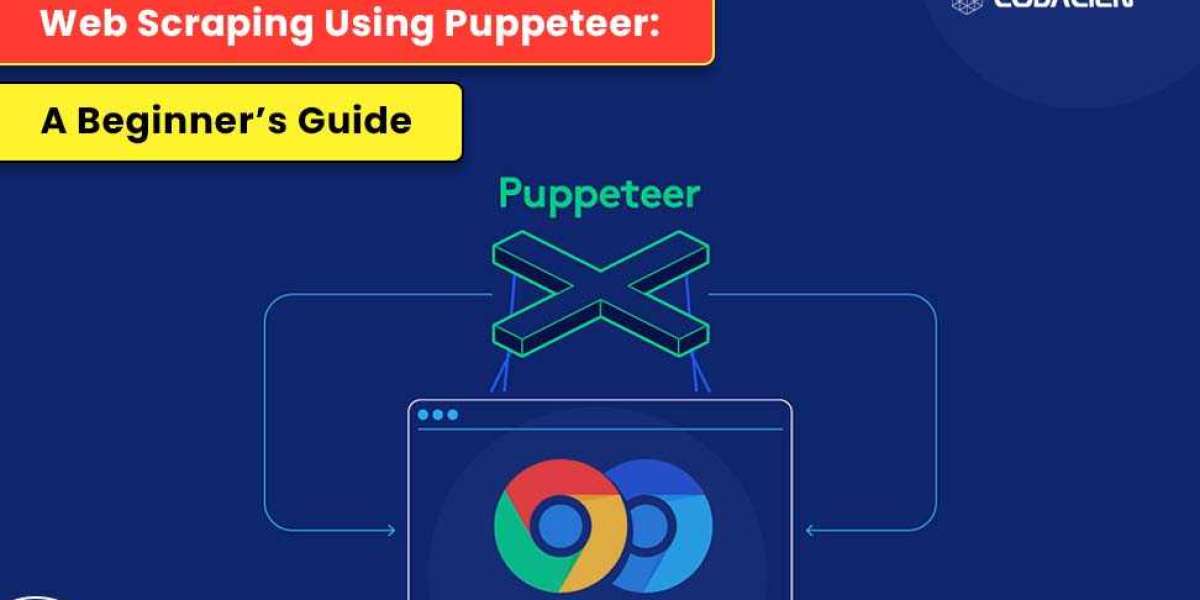
What is Puppeteer Why It is Used?
Puppeteer is a library used for Web Scraping in node js. It is developed by Google and provides an advanced API for controlling headless or headful(by default runs in headless mode) on Chromium browsers. Apart from scraping, this library is also used for taking screenshots, automating tasks like navigating to the next pages, etc, or generating pdf from the website content.
Before diving in further, you should have a basic knowledge of Node Js, and HTML DOM, as these technologies are used together to use Puppeteer.
How To Use Puppeteer For Web Scraping?
Follow the given instructions to use Puppeteer for Web Scraping:
Step 1: First, install Puppeteer in your running node js project using npm.
npm install puppeteer
Step 2: Once the package is installed successfully, you can require the package in your js file.
const puppeteer = require(‘puppeteer’);
Step 3: Now you can launch/create a browser, create pages on that browser, go to the websites you wish to work via its URL, and manipulate it to extract any information.
To begin with, let’s take a look at a simple web scraping example that will open the desired web page and extract its title.
(async () = { const browser = await puppeteer.launch(); const page = await browser.newPage(); await page.goto('https://www.google.com/'); const pageTitle = await page.title(); console.log(`Title: ${pageTitle}`); await browser.close();})();Code language: JavaScript (javascript)
Let’s understand what the above code performs:
- The launch() function is used to launch a Chromium browser for testing. By default, the browser will be launched in headless mode but if you want to see the launching of the browser in your system, you need to set the following in the launch function itself.
const browser = await puppeteer.launch(headless: false)
- Now we want to open a page in the browser we launched. The newPage() function is used to do so.
- To navigate to the required website, we use the goto() function and pass the URL of that website. In the above code, we are navigating to the homepage of Google.
- Now we can manipulate our queries depending on the data we want to extract.
- In the above code, we wanted to know the title of the webpage we navigated and, therefore, the page.title() function is used which is a predefined function that provides the title of the webpage and we have displayed it in the console.
- Lastly, we close the browser window.
Some Web Scraping Techniques in Puppeteer
There are some of the built-in functions within the puppeteer library that we can readily use. These are advanced functions that help us to interact with the website automatically and extract data, make PDFs or take screenshots depending on our needs. Some of them are:
- page.viewPort(): to set the height and width of the browser window page.
- page.screenshot({path: “path”}): to take the screenshot of the page and store it in the path provided.
- page.pdf(): to form a pdf of the webpage.
- page.click(): to click on the element of the page that matches the selector passed as the parameter.
- page.type(): to fill or type on the element automatically that matches the selector passed.
- page.url(): to get the URL of the page.
- page.waitforNavigation(): this function is used to handle the navigations correctly. This function will wait for 10 sec by default until the page is navigated to the next page. If the page has not been navigated, it will throw us an error. You can change the waiting time.
syntax: await page.waitForNavigation({ timeout: 30000 });
- page.waitForSelector() : this function works in the similar way as waitForNavigation() works. The difference between the two is page.waitForSelector() will wait until the selector that is passed is found when the page navigates. If not found, throws an error. You can change the waiting time in the same way as the page.waitForNavigation().
These are some of the basic yet important functions used while scraping or interacting with web pages using Puppeteer. Apart from these, if you want to evaluate the page or access the data with the help of HTML DOM with the help of query selectors or providing X paths, you can check all the other functions to get more information on Puppeteer and discover more ways you can use Puppeteer for Web Scraping from the official documentation of Puppeteer.
Conclusion
Puppeteer is a fantastic library for doing web scraping and automating UI interactions with our desired web pages and extracting information from them. By using its various ready-to-use features and technologies, it is much easier to scrap and perform complex tasks, capturing screenshots or making PDFs and storing data in our desired structure making it easy to access the data. Be ethical and responsible to use scraping only on those sites that allow it without violating any norms or privacy measures else legal actions can be taken against the website holder.
Happy Scraping!