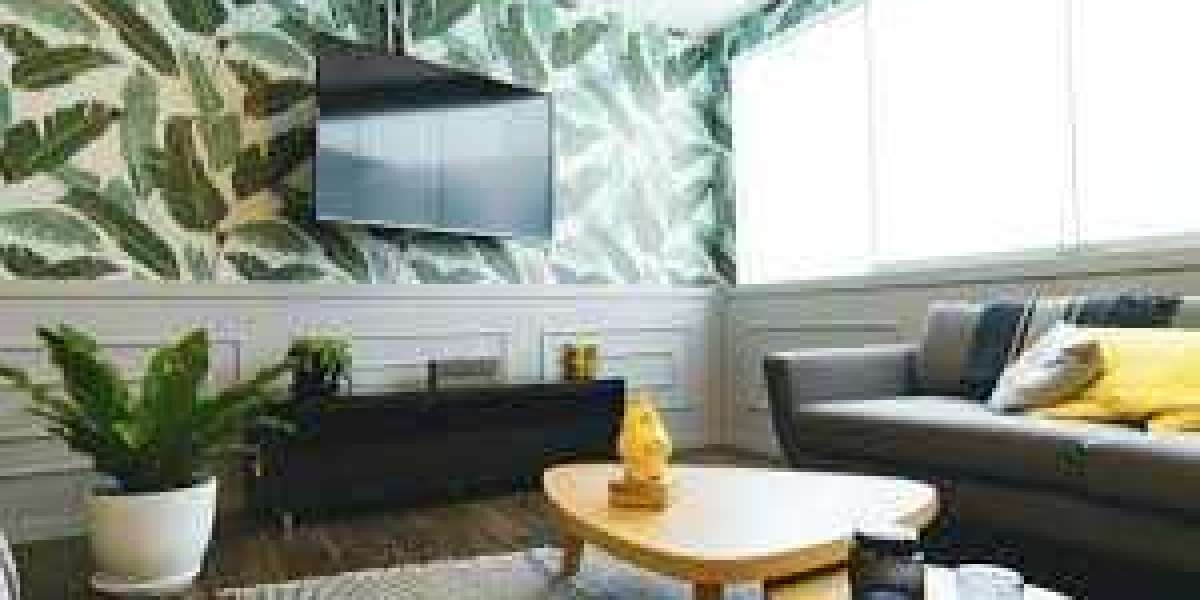
If you're looking to add a touch of elegance and functionality to your TV area, a TV floating shelf is the perfect solution. In this comprehensive guide, we will explore the benefits of incorporating a floating shelf into your TV setup and provide step-by-step instructions to help you install one seamlessly.
1. Understanding the Advantages of a TV Floating Shelf
A TV floating shelf offers several advantages that make it a popular choice among homeowners:
Space-saving: Floating shelves do not take up floor space, making them ideal for smaller rooms or apartments where maximizing space is crucial.
Aesthetically Pleasing: The minimalist design of a floating shelf complements various interior styles, giving your TV area a modern and clean look.
Cable Management: A floating shelf allows you to conceal cables and wires, creating a tidy and organized setup.
Versatility: You can use a floating shelf not only for your TV but also to display decorative items, media devices, or gaming consoles.
2. Selecting the Perfect TV Floating Shelf
Before diving into the installation process, it's essential to choose the right TV floating shelf for your needs. Consider the following factors when making your selection:
Size: Ensure that the shelf is wide enough to accommodate your TV and any additional devices you plan to place on it.
Weight Capacity: Check the weight capacity of the shelf to ensure it can safely hold your TV and other items.
Material and Finish: Choose a shelf that matches your interior decor and is made of durable materials, such as wood, metal, or tempered glass.
3. Gathering the Necessary Tools and Materials
To install a TV floating shelf, you'll need the following tools and materials:
- TV floating shelf kit (including brackets and screws)
- Stud finder
- Level
- Power drill
- Screwdriver
- Pencil
- Measuring tape
4. Finding the Right Wall Location
Locate the wall studs using a stud finder to ensure a secure installation. Once you've found the studs, mark the desired height for your floating shelf using a pencil.
5. Installing the TV Floating Shelf
Follow the manufacturer's instructions provided with your TV floating shelf kit to attach the brackets securely to the wall. Ensure that the brackets align with the marked locations of the wall studs. Use a level to check that the brackets are straight.
6. Mounting the Floating Shelf
Carefully place the floating shelf on top of the installed brackets. Double-check that the shelf is level and adjust if necessary. Ensure that the shelf fits snugly onto the brackets to provide a stable foundation for your TV and other items.
7. Organizing Cables and Wires
Take advantage of the floating shelf's cable management features to keep your TV setup tidy. Use cable ties or clips to bundle and hide the cables, creating a clutter-free and visually appealing arrangement.
8. Adding Personal Touches
Now that your TV floating shelf is installed, take the opportunity to decorate the space with personal touches. Consider adding framed photos, decorative plants, or other accessories to enhance the overall look of your TV area.
With your new TV floating shelf, you've not only optimized your entertainment area but also added a stylish focal point to your room. Enjoy the organized and sophisticated atmosphere as you indulge in your favorite TV shows and movies.